


singlespeed
Well-known member
FRONT SUSPENSION
1. Remove the front wipers by popping the nut covers off and then un-doing the nuts (16mm) Then wiggle the wipers untill they come off. Mark where the wipers sit before disturbing them as the parallel linkage is slightly fiddly to set up again.
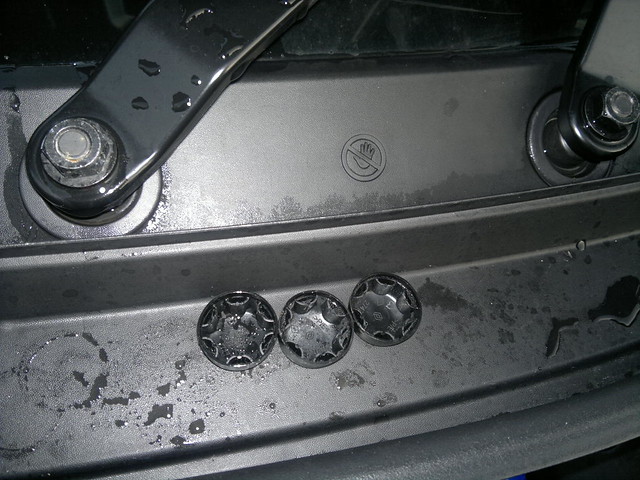
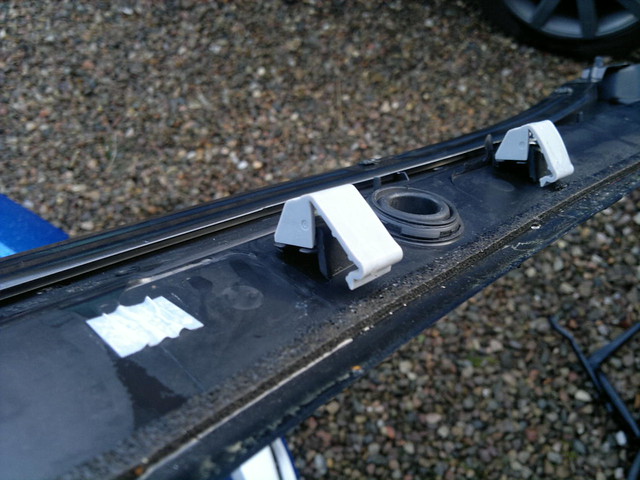
2. Remove the plastic scuttle.
a) Firstly remove the foam on the drivers side then the windscreen trims (about 4inchs long) running up the sides of the windscreen they are clipped in so be carefull not to break the clips. Inserting a small screwdriver in the hole will unlatch the lower clip from the scuttle
b) Also there are 2 round clips that you remove with a flat head screw drive just below the windscreen trims (I just used my fingers to unscrew them). then lastly 3x T20 torx screws that will then let you remove the plastic scruttle.
c) Theres a load of clips that hold the scuttle against the windscreen, so don't go trying to prize up the rear edge
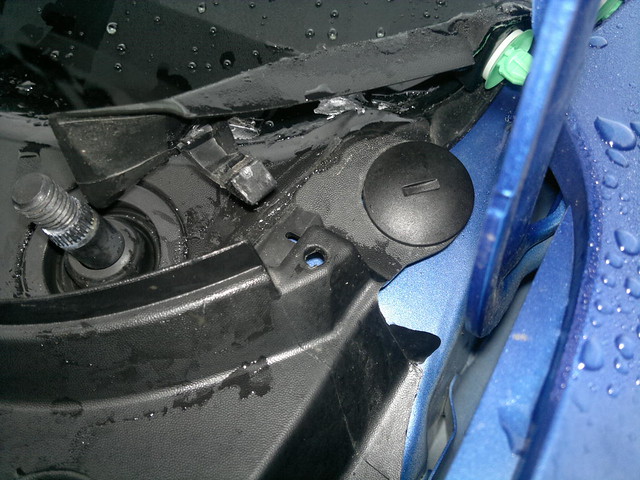
d) Lift the front edge of the scuttle panel, infront of the wiper spindles. The front edge can then be lifted clear of the dish on the drivers side which is fixed. Once it's all lifted clear pull it forwards to clear the windscreen clips and lift it off the wiper spindles
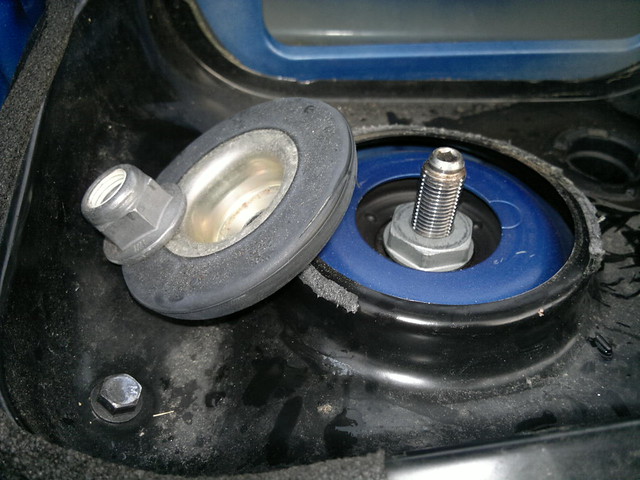
3. Undo top mount but leave it done up finger tight as this will support the strut untill your ready to remove it(21mm and T40 to hold the middle if required). Here shows it dismantled but leave if finger tight untill later. Do not remove the second nut which was hidden by the tophat. That keeps the spring and bearing in place on the damper
4. Jack the car up and undo the wheel nuts to remove the wheels (17mm). On 133s, you will need both sides up, otherwise there will be a lot of tension in the anti-roll bar.
5. Removing the strut assembly. 1x ARB droplink nut. 2x Large bolts through hub carrier, 1x ABS cable
a) Unclip the ABS wire from the shock absorber bracket
b)Undo the ARB droplink (Not applicable to 1.2s) 16mm nut and T20 torx bit
Note:- Get a jack or some blocks of wood ready to support the hub assembly once you disconnect the strut in the next step. As, when its un-supported, the hub assembly can move sufficiently to put strain on the driveshaft and maybe pull the shaft from the gearbox... Using a jack to take the strain of the lower arm (+ drive shaft, hub, disc brake and caliper) helps to take some of the strain out the 21mm bolts when removing, and is especially helpful when trying to get everything lined back up when putting it all back together!
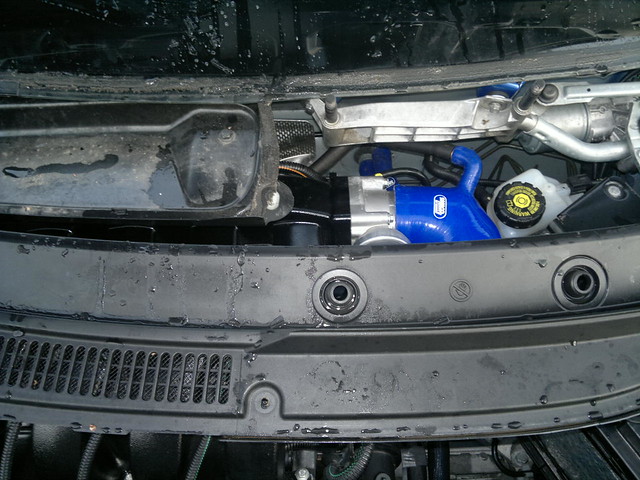
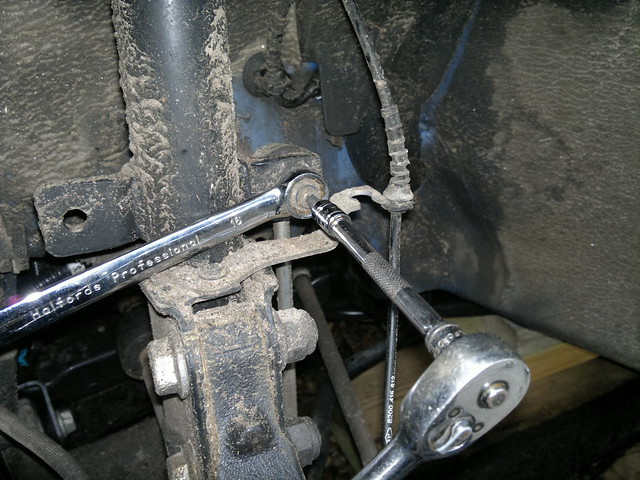
c) Then remove the 2 nuts (21mm) You will need to hit the bolts with a hammer to get them out as they are splined into the holes for a good fit. Note:- when you hammer out the 21mm bolts (because they are splined) it is best practice to leave the nut just on the end of the bolt to hit the hammer against. If you hit a hammer directly onto the bolt you will most likely damage/bend the threads and have trouble when re-assembling! Older cars will suffer more for this as the bolt become more seized.
d) Take the weight of the strut and completely unscrew the nut in the engine bay. Now, the strut should lift out.
6. Clamp the suspension spring up with spring compressors BEFORE REMOVING THE SPRING CARRIER TOP NUT. Theres no need to go mad, just untill the spring is slightly loose.
a) undo the (27mm) top nut whilst holding the rod with a T40 bit.
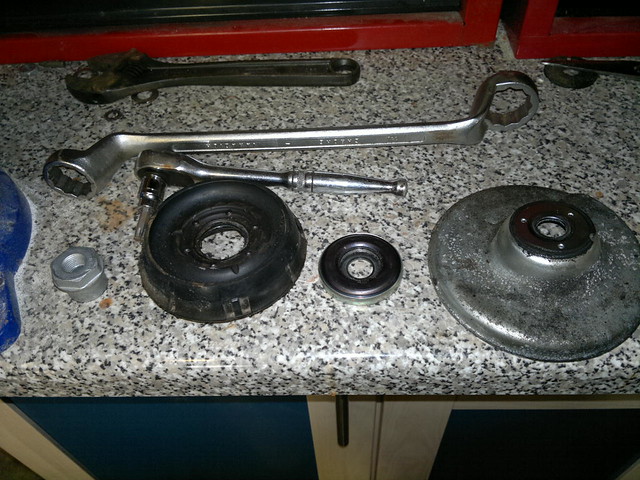
b) remove:- nut, rubber bush, bearing (note which way up this goes), top spring plate
c) Once you have done this you will then be able to remove the spring but be carefull when un-compressing the spring as it will be under alot of tension and can take your head off !!!!!!!!!!!!
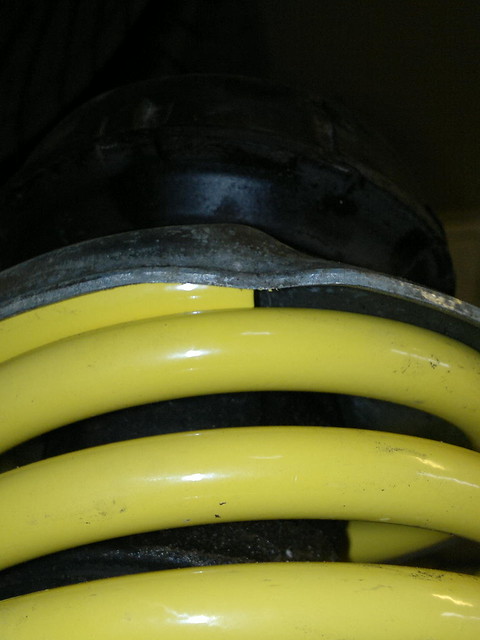
7. Re-assemble the top spring platform and top mount in the order they were removed, making sure the tails of the spring seat into the dips of the platforms
8. Re-assemble everything in the reverse of removal.
REAR SUSPENSION
1. Remove the lower shock bolts (18mm) with the wheels still on the ground
2. Jack the rear of the car up. Doing both sides at once will allow the axle to droop and the springs can be removed without a fight. If you only do one side at a time, you will be fighting against the torsion of the axle. It can be done but you will need to compress the springs a bit.")
3. Remove springs and mounting bushes, then unscrew the bushes from the spring
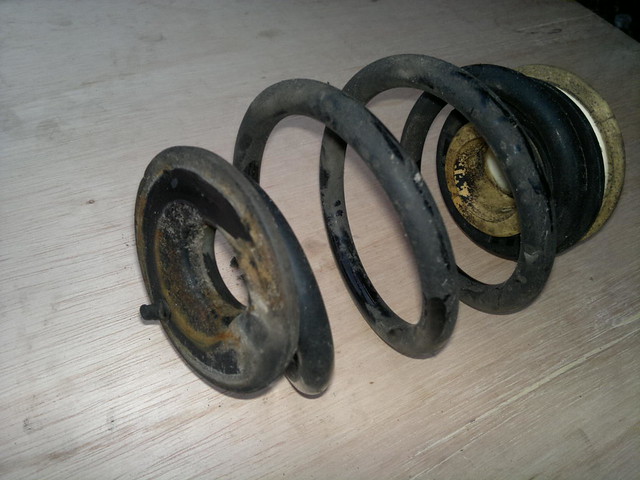
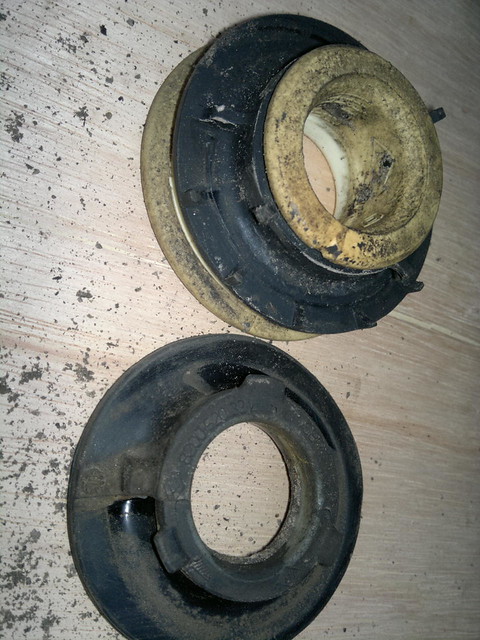
4. Screw the bushes onto the new spring untill the tail of the spring is against the stop. The rubber nipple on the lower mount pushes into a hole in the the rear of the axle.
5. Slowly lower back down, making sure the springs/bushes and bumpstop are seated correctly once they start to compress.
6. Rebolt lower shockabsorber bolts
7. You now have a lowered 133 (1.2, GT)
Hope i havent missed anythink but please plese take care when doing it yourself as it in very dangous.
1. Remove the front wipers by popping the nut covers off and then un-doing the nuts (16mm) Then wiggle the wipers untill they come off. Mark where the wipers sit before disturbing them as the parallel linkage is slightly fiddly to set up again.
2. Remove the plastic scuttle.
a) Firstly remove the foam on the drivers side then the windscreen trims (about 4inchs long) running up the sides of the windscreen they are clipped in so be carefull not to break the clips. Inserting a small screwdriver in the hole will unlatch the lower clip from the scuttle
b) Also there are 2 round clips that you remove with a flat head screw drive just below the windscreen trims (I just used my fingers to unscrew them). then lastly 3x T20 torx screws that will then let you remove the plastic scruttle.
c) Theres a load of clips that hold the scuttle against the windscreen, so don't go trying to prize up the rear edge
d) Lift the front edge of the scuttle panel, infront of the wiper spindles. The front edge can then be lifted clear of the dish on the drivers side which is fixed. Once it's all lifted clear pull it forwards to clear the windscreen clips and lift it off the wiper spindles
3. Undo top mount but leave it done up finger tight as this will support the strut untill your ready to remove it(21mm and T40 to hold the middle if required). Here shows it dismantled but leave if finger tight untill later. Do not remove the second nut which was hidden by the tophat. That keeps the spring and bearing in place on the damper
4. Jack the car up and undo the wheel nuts to remove the wheels (17mm). On 133s, you will need both sides up, otherwise there will be a lot of tension in the anti-roll bar.
5. Removing the strut assembly. 1x ARB droplink nut. 2x Large bolts through hub carrier, 1x ABS cable
a) Unclip the ABS wire from the shock absorber bracket
b)Undo the ARB droplink (Not applicable to 1.2s) 16mm nut and T20 torx bit
Note:- Get a jack or some blocks of wood ready to support the hub assembly once you disconnect the strut in the next step. As, when its un-supported, the hub assembly can move sufficiently to put strain on the driveshaft and maybe pull the shaft from the gearbox... Using a jack to take the strain of the lower arm (+ drive shaft, hub, disc brake and caliper) helps to take some of the strain out the 21mm bolts when removing, and is especially helpful when trying to get everything lined back up when putting it all back together!
c) Then remove the 2 nuts (21mm) You will need to hit the bolts with a hammer to get them out as they are splined into the holes for a good fit. Note:- when you hammer out the 21mm bolts (because they are splined) it is best practice to leave the nut just on the end of the bolt to hit the hammer against. If you hit a hammer directly onto the bolt you will most likely damage/bend the threads and have trouble when re-assembling! Older cars will suffer more for this as the bolt become more seized.
d) Take the weight of the strut and completely unscrew the nut in the engine bay. Now, the strut should lift out.
6. Clamp the suspension spring up with spring compressors BEFORE REMOVING THE SPRING CARRIER TOP NUT. Theres no need to go mad, just untill the spring is slightly loose.
a) undo the (27mm) top nut whilst holding the rod with a T40 bit.
b) remove:- nut, rubber bush, bearing (note which way up this goes), top spring plate
c) Once you have done this you will then be able to remove the spring but be carefull when un-compressing the spring as it will be under alot of tension and can take your head off !!!!!!!!!!!!
7. Re-assemble the top spring platform and top mount in the order they were removed, making sure the tails of the spring seat into the dips of the platforms
8. Re-assemble everything in the reverse of removal.
REAR SUSPENSION
1. Remove the lower shock bolts (18mm) with the wheels still on the ground
2. Jack the rear of the car up. Doing both sides at once will allow the axle to droop and the springs can be removed without a fight. If you only do one side at a time, you will be fighting against the torsion of the axle. It can be done but you will need to compress the springs a bit.
3. Remove springs and mounting bushes, then unscrew the bushes from the spring
4. Screw the bushes onto the new spring untill the tail of the spring is against the stop. The rubber nipple on the lower mount pushes into a hole in the the rear of the axle.
5. Slowly lower back down, making sure the springs/bushes and bumpstop are seated correctly once they start to compress.
6. Rebolt lower shockabsorber bolts
7. You now have a lowered 133 (1.2, GT)
Hope i havent missed anythink but please plese take care when doing it yourself as it in very dangous.


